How a plasma lamp works and how we make it
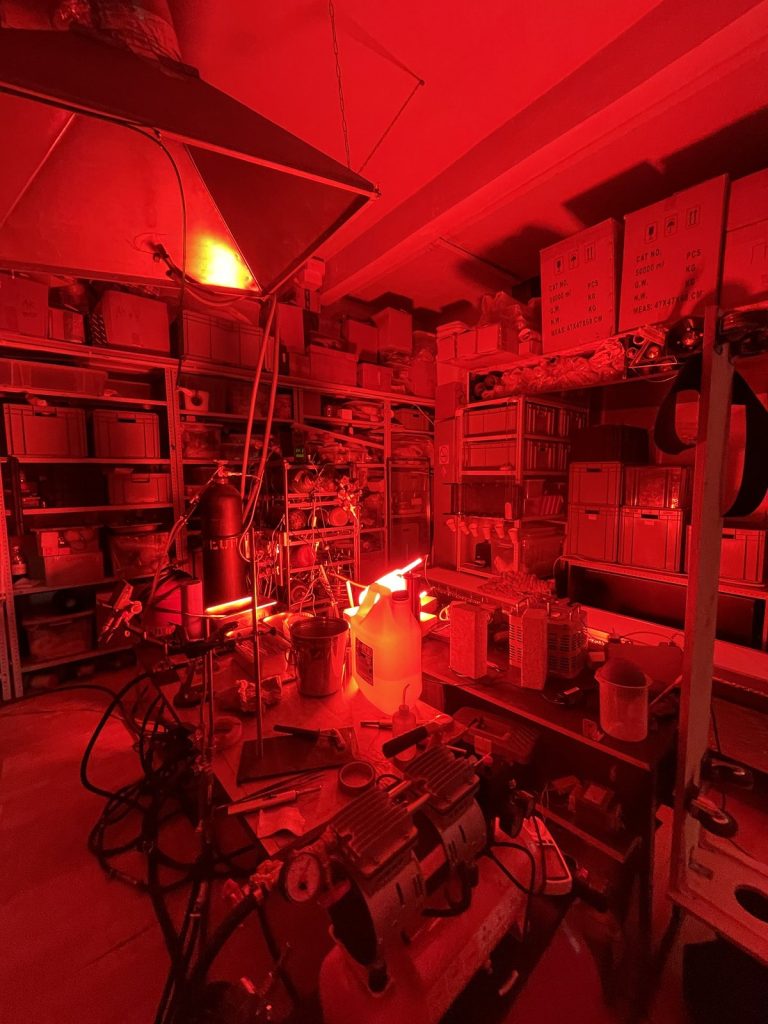
Making a plasma sculpture takes careful work at every stage — from shaping the glass blank to filling the finished piece with gas.
A plasma tube is a direct descendant of the Geissler tube. In 1857 the German glassblower Heinrich Geissler first made a rarefied gas glow inside a sealed glass tube, and those experiments led to neon signs and gas-discharge lamps. Plasma globes and tubes are also called Tesla lamps: the high-frequency discharge that burns inside them goes back to Nikola Tesla’s experiments. The principle is simple: the sealed tube holds a gas mix at low pressure, and the base houses a high-voltage, high-frequency generator. Most of our tubes have no electrodes inside: the field passes straight through the glass, ionises the gas and makes it glow. The colour and pattern of the lightning depend on the gas mix and pressure.
Working with glass: shaping the blank
Decorative glassmaking combines the craft of glassblowing with modern technology. This is what makes it possible to create unique pieces that decorate interiors and impress with their beauty.
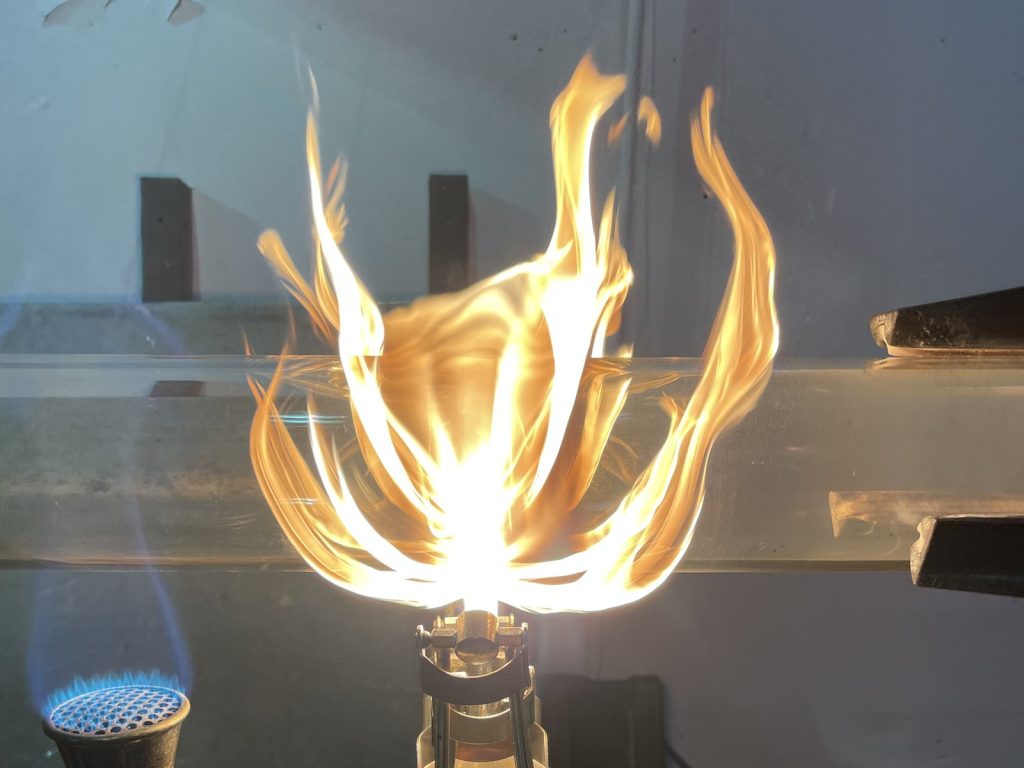
The shaping stage lays the foundation for the future piece, whether it is a small lamp or a large installation. As a rule, the starting point is glass tubing of various sizes.
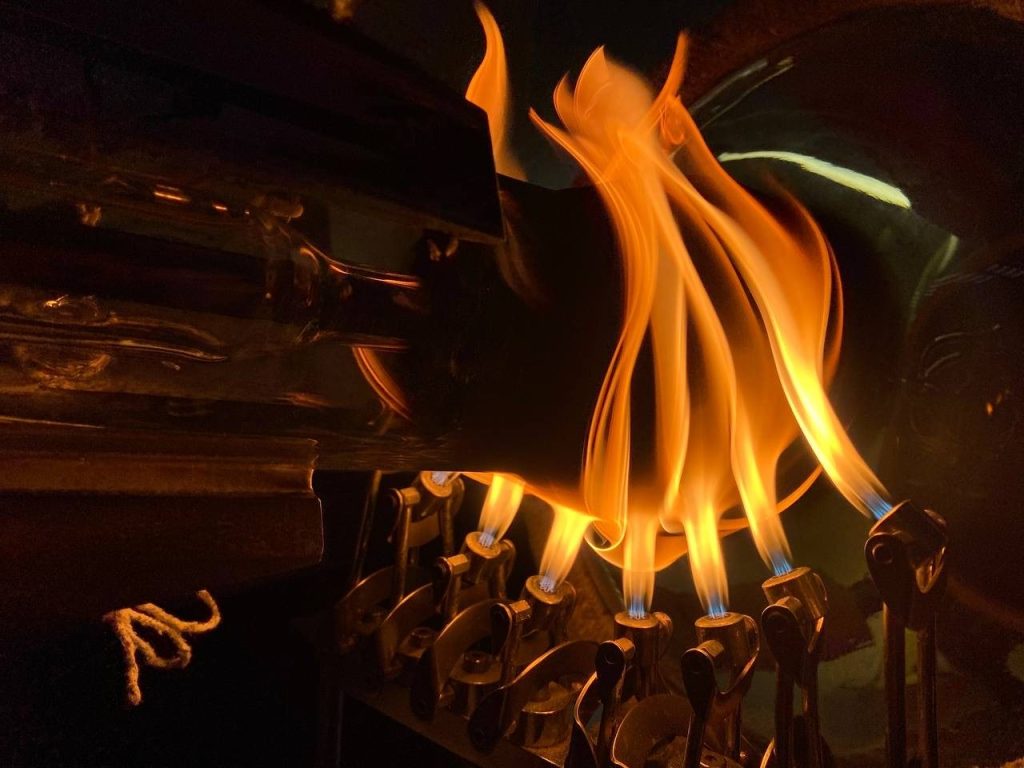
Small pieces — spirals, miniature spheres, decorative shapes — are made by hand. The glass is heated to its melting point of about 1500 degrees and then shaped with special tools, graphite moulds or by blowing. This requires great precision and experience: even the slightest mistake affects the quality of the piece.
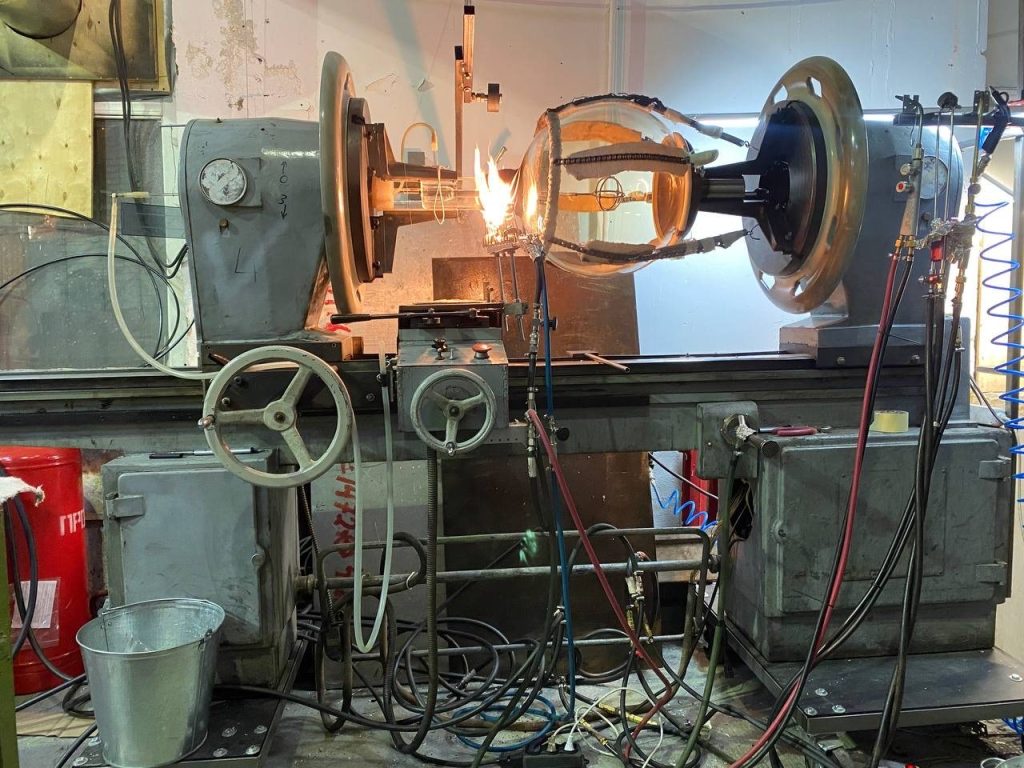
Large pieces, such as big plasma tubes or spheres of more than 20 litres, require glass lathes. They heat large glass evenly and shape it with a precision that is impossible by hand.
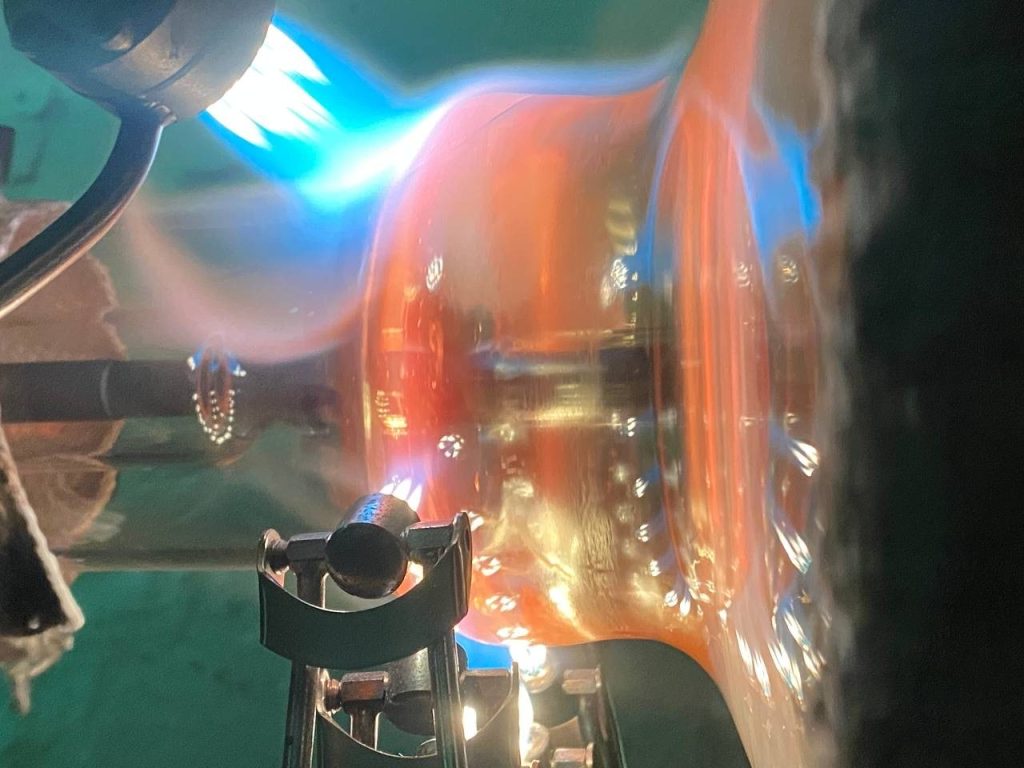
After shaping, the glass goes through initial cooling to avoid internal stresses that could cause cracking. Only then is the piece ready for the next stage — annealing.
Annealing: relieving stress
Glass is a capricious material. After the piece has been made and worked in the burner flame, internal stresses remain in it, and they can cause the piece to break unexpectedly.
This happens because the inner and outer layers cool unevenly. As the inner layers cool, they try to shrink, but the outer layers have already hardened and prevent this. If the residual stress exceeds the strength of the glass, the piece will break at room temperature — sometimes not immediately, but hours or days later, especially under external force.
To prevent this, the glass has to be “calmed down” with a special heat treatment called annealing.
First, the piece is slowly and evenly heated to about 500–550 °C. At this temperature the glass becomes more “pliable”, its internal structure relaxes, and the accumulated stresses gradually go away.
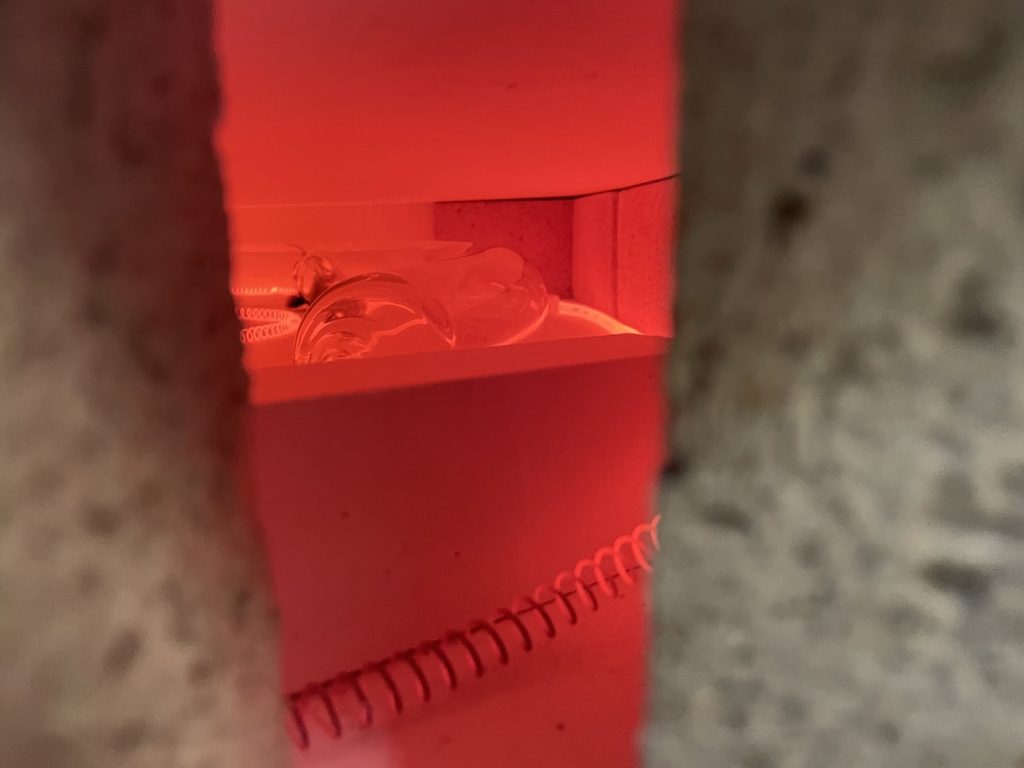
The most important thing in this process is patience. After heating, the glass has to be cooled very slowly. Cool it too quickly and new stresses appear, making the whole procedure useless. Depending on the size and thickness of the piece, cooling can take hours or even days. Special kilns allow precise control over temperature and cooling rate.
Properly annealed glass becomes more reliable and durable. It handles temperature changes and mechanical loads better. This is especially critical during evacuation, when hundreds or thousands of kilograms of atmospheric pressure press on a plasma tube.
Did you know that a glass tube 200 mm in diameter and one metre long carries a force of 95,478 N — about 9.5 tonnes — from atmospheric pressure alone?
Seeing the invisible: quality control
After the kiln, the piece looks perfect at first glance, but invisible stresses may still hide in the glass structure.
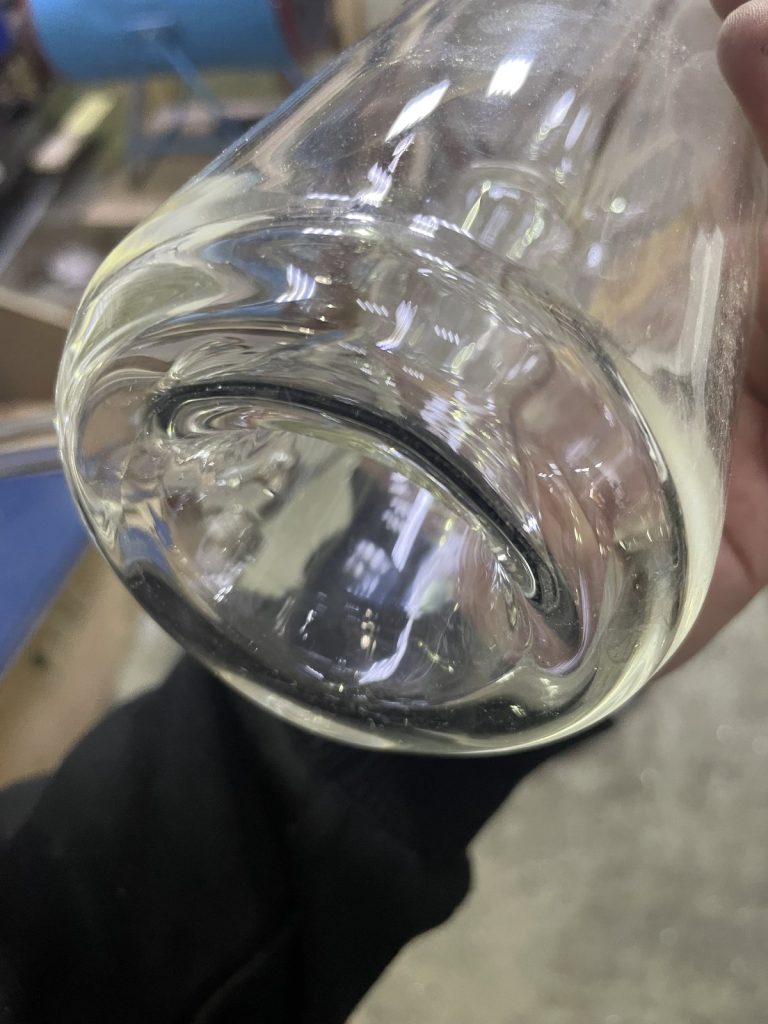
How do you see them? With a polariscope. Place the glass between two polarising filters and shine light through them, and hidden stresses appear as bands and patterns of colour. The brighter and more contrasting the pattern, the stronger the stress.
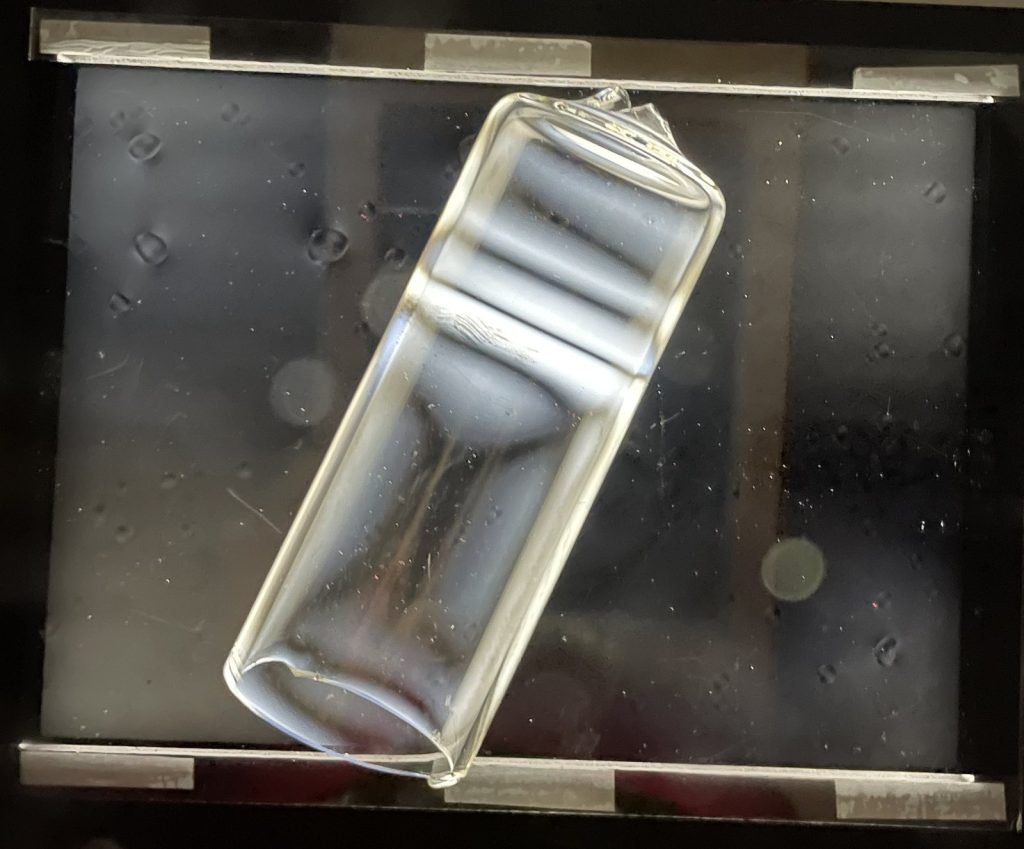
The method relies on a fascinating physical effect: under stress, glass transmits light differently in different directions, creating something like a rainbow. We “read” this picture to find problem areas in the piece.
The polariscope confirms that stresses are minimal and evenly distributed. Thanks to this, we can be confident in the safety of our glass — it will not break on its own.
Preparing for filling: degassing
Depending on the type and degree of contamination, the glass is heated to 300–400 °C. Organic matter burns off, and gases absorbed by the glass during storage or processing are driven out. Even heating glass to softening point cannot fully degas its entire thickness — but the surface layers can be cleaned completely, and that is what matters for long, stable operation.
For additional cleaning we use plasma or electron treatment: the tube is placed between metal plates under high-frequency voltage, and the glass begins to fluoresce under electron bombardment.
The art of taming plasma: choosing the gas mix
When we see glowing glass spheres or tubes with shimmering lightning inside, few people think about the scientific process behind this beauty. Making plasma pieces is a true art, where the artist works not with paint but with gas mixtures and electricity.
The magic begins with emptiness. The first step is evacuating the glass vessel — creating a perfectly clean canvas by removing all foreign gases, so that the future mix can show itself at its best.
Choosing the right mix is genuine creativity, where science meets art. Each gas brings its own character:
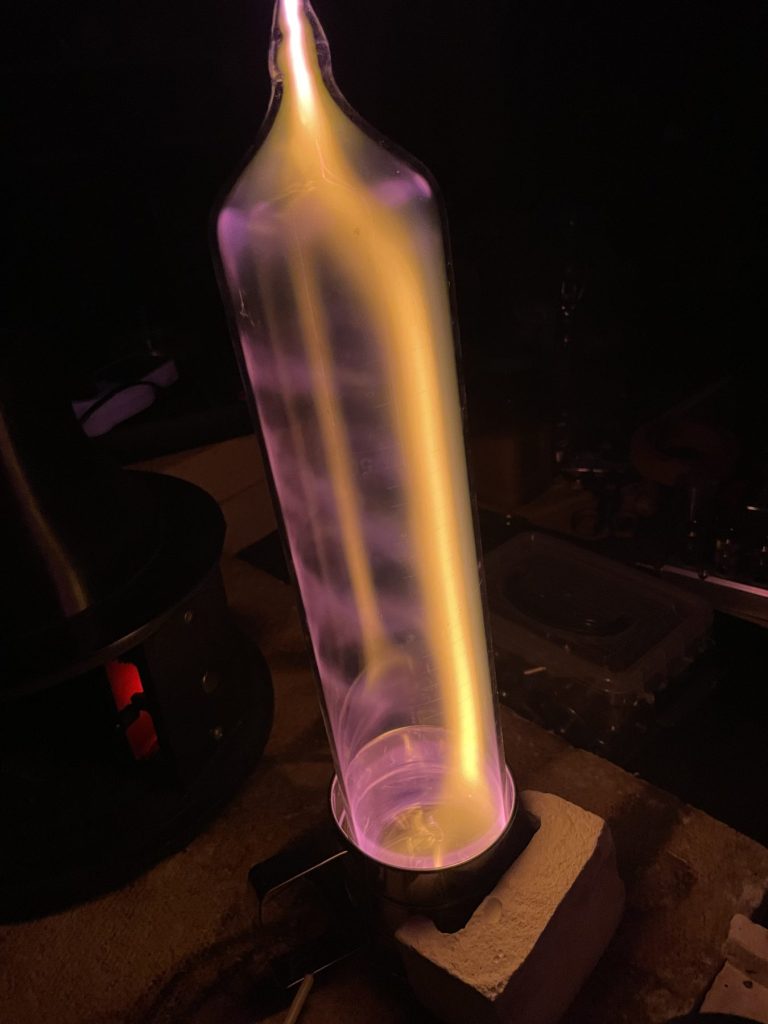
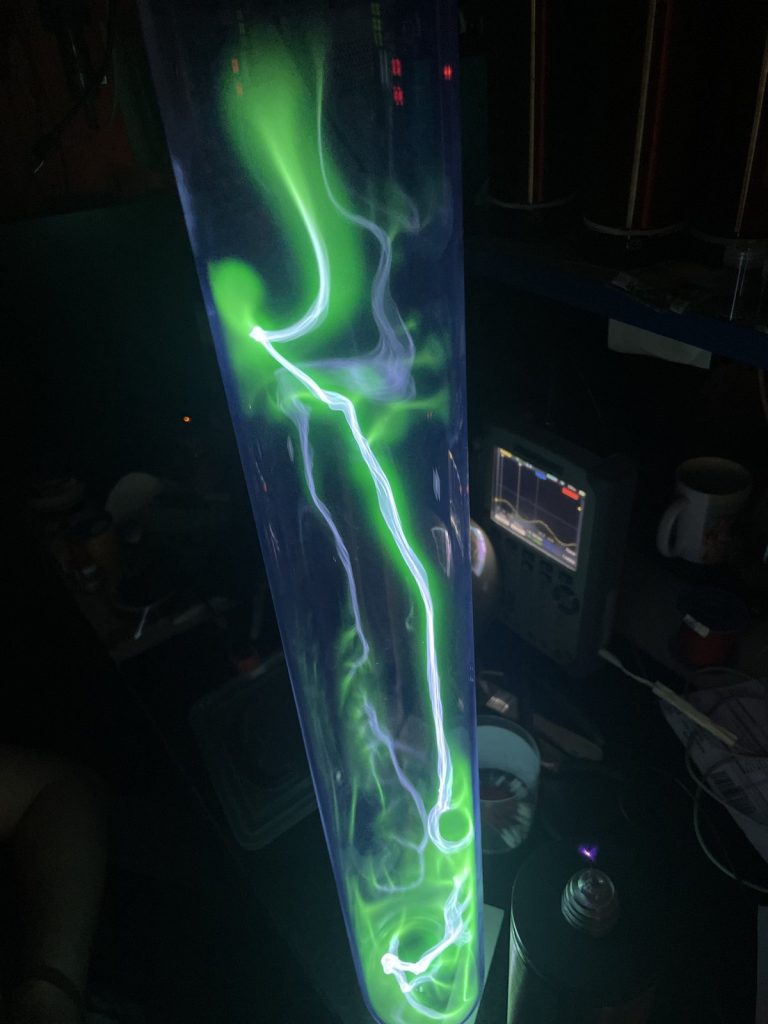
- Neon gives a bright orange-red glow
- Argon creates lavender or bluish tones
- Krypton gives a white glow
- Xenon can give violet and blue tones
- Nitrogen gives lilac or yellow
But the real magic begins with mixtures. Like a painter mixing colours on a palette, the master experiments with proportions, adding a pinch of one gas and a drop of another. The result can be unexpected and surprising — and tiny traces of the wrong impurity can spoil a mix completely, making it dull.
Some gases are rare and expensive. Xenon, for example: 1000 cubic metres of air contain only 86 cubic centimetres of it, which makes it the most expensive of the noble gases.
Pressure matters too. Too low, and the plasma will be dim; too high, and the discharge may become unstable. Every gas has its own parameters, and finding the balance is an art that takes experience and intuition.
That is the special charm of working with plasma: even with the same mix, every piece turns out unique. The size of the vessel and the details of its shape all affect the result. Each piece is a small universe where gases and electricity dance their mesmerising dance.
Electronics: power unit and controller
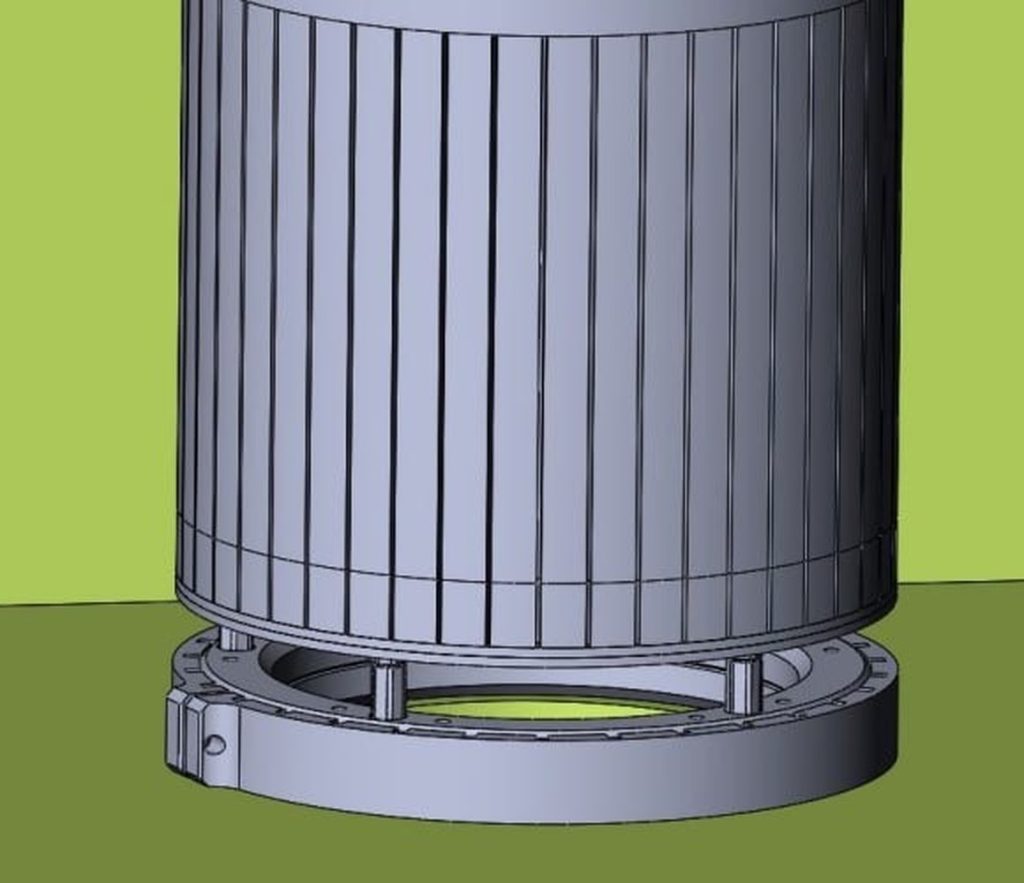
We design and build the power unit for every column ourselves. Its housing and mount start life as a 3D model, so we can check cooling, dimensions and quick removal for servicing in advance. Inside is a high-voltage generator, a fan, temperature sensors and a controller running our own firmware, which shapes the discharge and monitors the column’s condition.